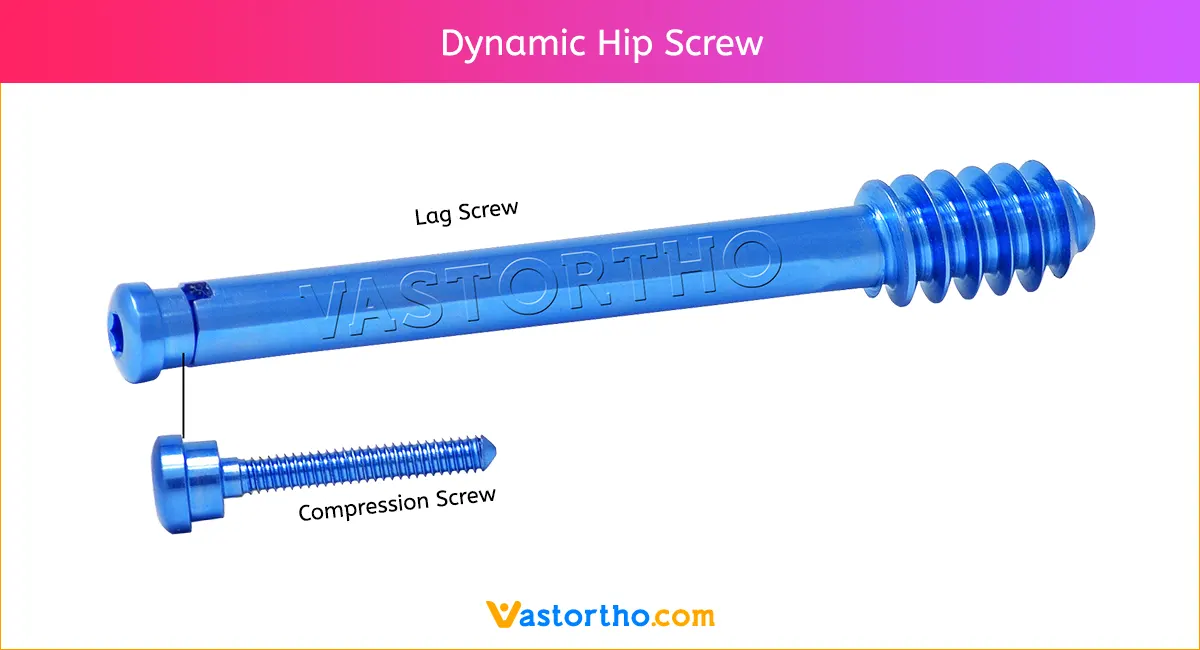
FIXATION WITH Dynamic Hip Screw Plate
Technique of insertion
The first step is to position a guide wire on the neck and hammer it into the head. With the C-arm positioned to show the neck axis, slide the guide wire along the neck, parallel to its axis, and gently tap it into the head.
With the C-arm in the AP, make sure that the wire subtends the CCD (collum-center-diaphysis) angle of the neck. This will help you with the insertion of the guide wire for the screw.
Insertion of the guide wire
Choose the correct aiming device according to the CCD angle of the neck. Check its position in the AP view with the image intensifier.
Insert the guide wire through the aiming device and advance it into the subchondral bone of the head, stopping 10 mm short of the joint.
In both the AP and lateral planes, the guide wire should be positioned along the axis of the neck and through the middle of the head, and advanced to within 5 mm of the subchondral bone.
Determination of the length of the Dynamic Hip Screw
Determine the length of the Dynamic Hip Screw with the help of the measuring device. Select a screw which is 10 mm shorter than the measured length.
Drilling
Adjust the cannulated triple reamer to the chosen length of the screw. Drill a hole for the screw and the plate sleeve.
Dynamic Hip Screw insertion
The correct Dynamic Hip Screw is mounted on the handle and inserted over the guide wire. By turning the handle it is advanced into the bone. Do not push forcefully or you may distract the fracture.
In young patients with hard bone it is best to use the tap to precut the thread for the screw. Otherwise the screw may not advance, and you may actually displace the fracture by twisting the proximal fragment as you attempt to insert the screw.
When the screw has reached its final position (checked with the image intensifier: 10 mm short of the subchondral bone in the AP and lateral), the T-handle of the insertion piece should be parallel to the long axis of the bone to ensure the correct position of the plate.
Fixation of the Dynamic Hip Screw Plate
Generally, a two-hole Dynamic Hip Screw plate with the preoperatively determined CCD angle will be chosen. Take the plate with the correct CCD angle, slide it over the guide wire, and mate it correctly with the screw. Then push it in over the screw and seat it home with the impactor.


