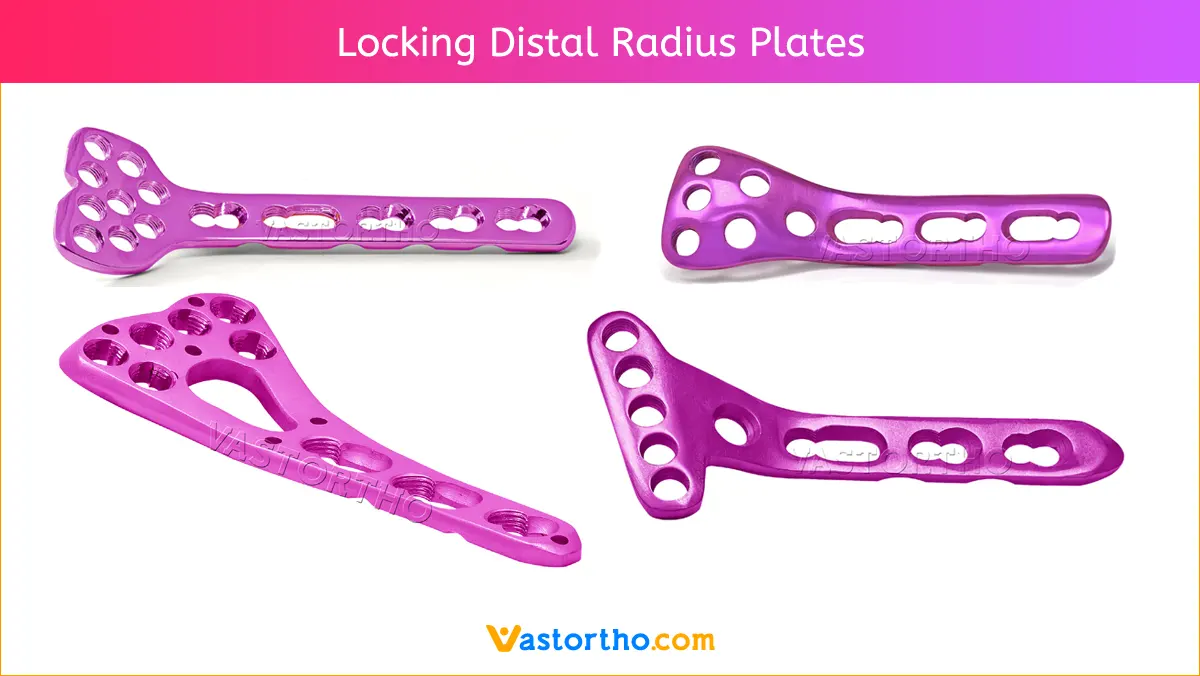
2.7 mm Locking Distal Radius Plates
Vast Ortho Locking Distal Radius Plates category contains all plates used in distal radius system. Check below all products from Locking Distal Radius Plates category.
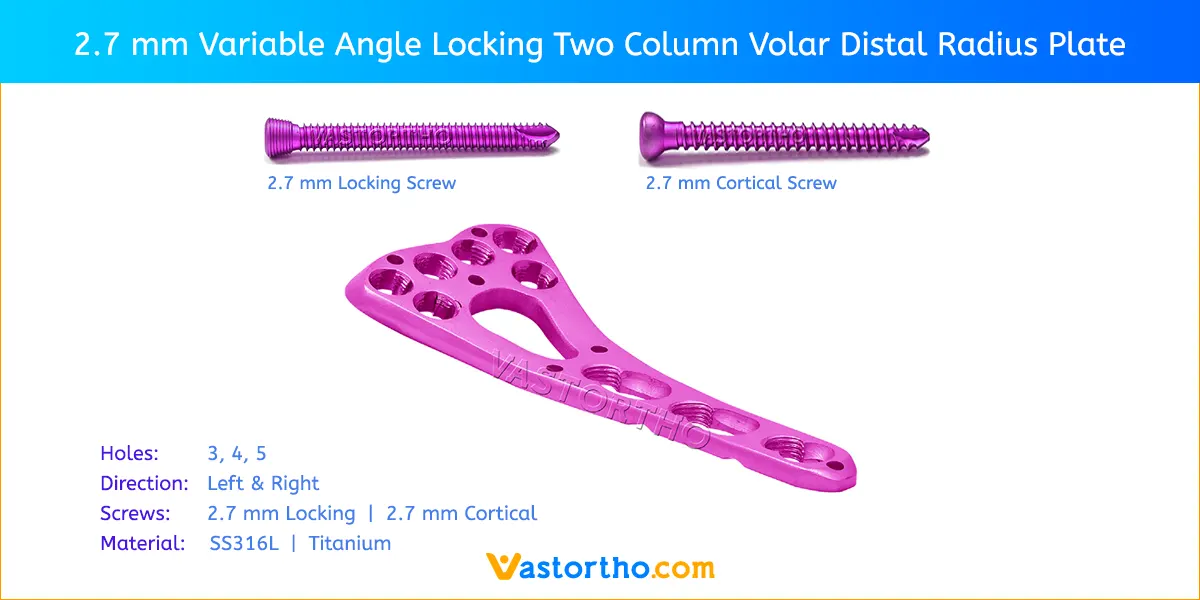 https://www.vastortho.com/wp-content/uploads/2.7-mm-Variable-Angle-Volar-Distal-Radius-Plate.webp
600
1200
VastOrtho
https://www.vastortho.com/wp-content/uploads/Vast-Ortho-Logo-for-website.png
VastOrtho2023-02-06 21:37:202023-06-13 23:44:222.7 mm Variable Angle Volar Distal Radius Plate
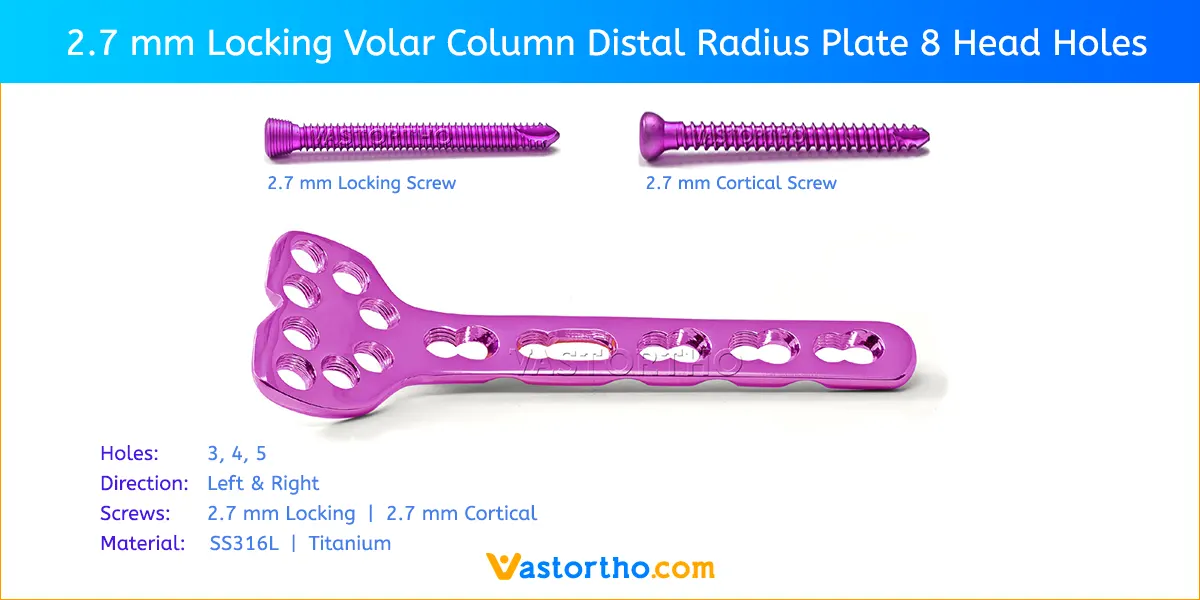 https://www.vastortho.com/wp-content/uploads/2.7-mm-Locking-Volar-Column-Distal-Radius-Plate-8-Head-Holes.webp
600
1200
VastOrtho
https://www.vastortho.com/wp-content/uploads/Vast-Ortho-Logo-for-website.png
VastOrtho2017-12-18 05:58:012023-07-18 21:00:482.7 mm Locking Volar Column Distal Radius Plate 8 Head Holes
 https://www.vastortho.com/wp-content/uploads/2.7-mm-Locking-Volar-Column-Distal-Radius-Plate-9-Head-Holes.webp
600
1200
VastOrtho
https://www.vastortho.com/wp-content/uploads/Vast-Ortho-Logo-for-website.png
VastOrtho2017-12-18 05:57:522023-07-18 21:01:242.7 mm Locking Volar Column Distal Radius Plate 9 Head Holes
 https://www.vastortho.com/wp-content/uploads/2.7-mm-Locking-Volar-Long-Distal-Radius-Plate-4-Head-Holes.webp
600
1200
VastOrtho
https://www.vastortho.com/wp-content/uploads/Vast-Ortho-Logo-for-website.png
VastOrtho2017-12-18 05:57:172023-06-13 23:47:132.7 mm Locking Volar Long Distal Radius Plate
 https://www.vastortho.com/wp-content/uploads/2.7-mm-Locking-Volar-Extra-Articular-Distal-Radius-Plate-5-Head-Holes.webp
600
1200
VastOrtho
https://www.vastortho.com/wp-content/uploads/Vast-Ortho-Logo-for-website.png
VastOrtho2017-12-18 05:56:552023-07-18 21:03:422.7 mm Locking Volar Extra Articular Distal Radius Plate 5 Head Holes
 https://www.vastortho.com/wp-content/uploads/2.7-mm-Locking-Volar-Extra-Articular-Distal-Radius-Plate-4-Head-Holes.webp
600
1200
VastOrtho
https://www.vastortho.com/wp-content/uploads/Vast-Ortho-Logo-for-website.png
VastOrtho2017-12-18 05:56:432023-07-18 22:54:452.7 mm Locking Volar Extra Articular Distal Radius Plate 4 Head Holes
 https://www.vastortho.com/wp-content/uploads/2.7-mm-Locking-Volar-Juxta-Articular-Distal-Radius-Plate-5-Head-Holes-1.webp
600
1200
VastOrtho
https://www.vastortho.com/wp-content/uploads/Vast-Ortho-Logo-for-website.png
VastOrtho2017-12-18 05:56:312023-06-13 23:49:072.7 mm Locking Volar Juxta Articular Distal Radius Plate
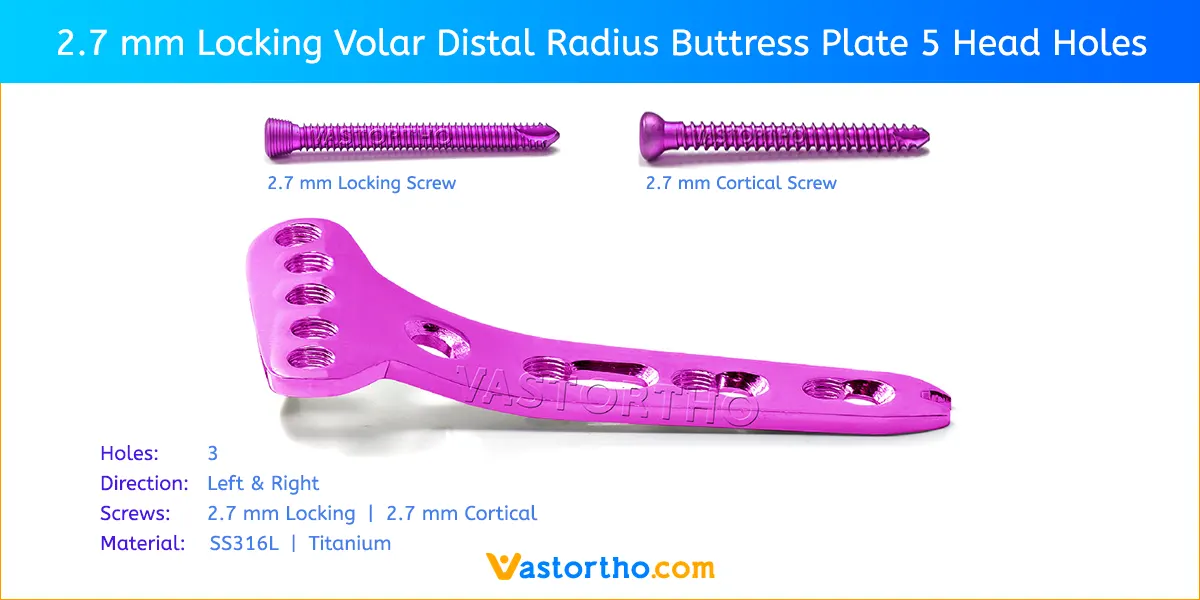 https://www.vastortho.com/wp-content/uploads/2.7-mm-Locking-Volar-Distal-Radius-Buttress-Plate-5-Head-Holes.webp
600
1200
VastOrtho
https://www.vastortho.com/wp-content/uploads/Vast-Ortho-Logo-for-website.png
VastOrtho2017-12-18 05:56:192023-07-18 21:06:102.7 mm Locking Volar Distal Radius Buttress Plate
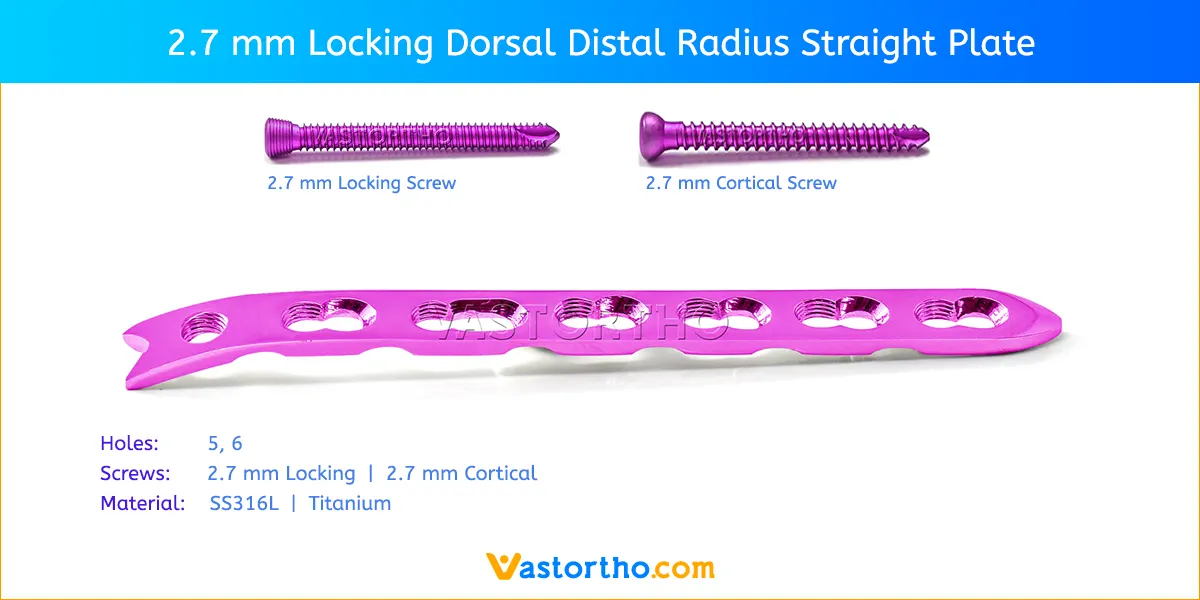 https://www.vastortho.com/wp-content/uploads/2.7-mm-Locking-Dorsal-Distal-Radius-Plate.webp
600
1200
VastOrtho
https://www.vastortho.com/wp-content/uploads/Vast-Ortho-Logo-for-website.png
VastOrtho2017-12-18 05:54:242023-06-13 23:50:192.7 mm Locking Dorsal Distal Radius Plate
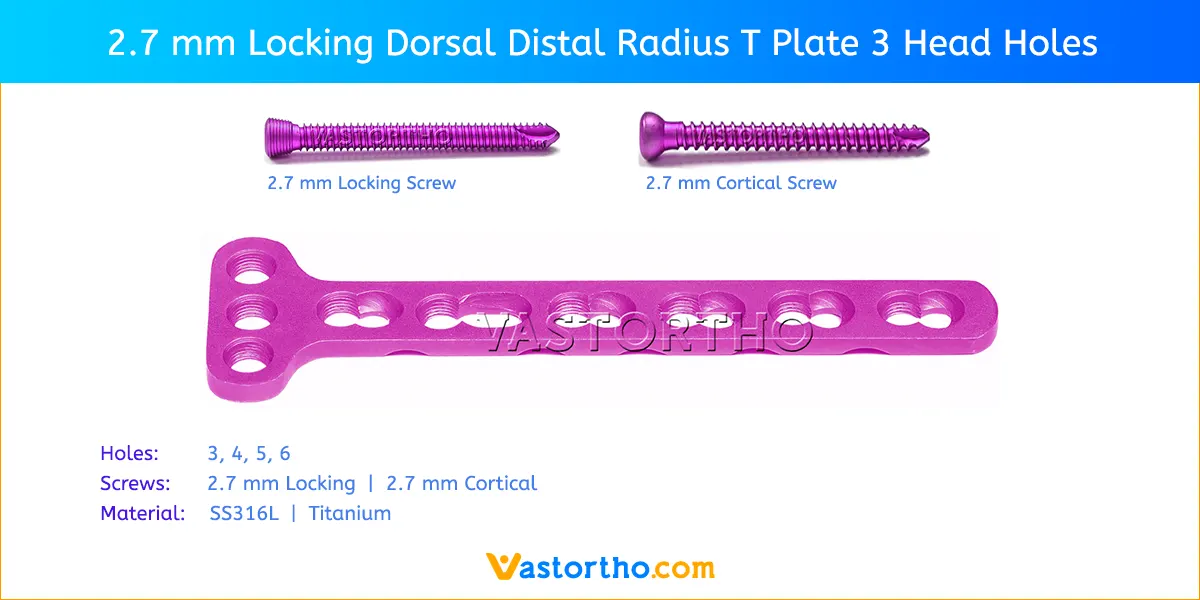 https://www.vastortho.com/wp-content/uploads/2.7-mm-Locking-Dorsal-Distal-Radius-T-Plate-3-Head-Holes.webp
600
1200
VastOrtho
https://www.vastortho.com/wp-content/uploads/Vast-Ortho-Logo-for-website.png
VastOrtho2017-12-18 05:54:142023-06-14 00:14:412.7 mm Locking Dorsal Distal Radius T Plate
 https://www.vastortho.com/wp-content/uploads/2.7-mm-Locking-Dorsal-Distal-Radius-L-Plate-2-Head-Holes.webp
600
1200
VastOrtho
https://www.vastortho.com/wp-content/uploads/Vast-Ortho-Logo-for-website.png
VastOrtho2017-12-18 05:54:062023-06-14 00:15:102.7 mm Locking Dorsal Distal Radius L Plate 2 Head Holes
 https://www.vastortho.com/wp-content/uploads/2.7-mm-Locking-Dorsal-Distal-Radius-L-Plate-3-Head-Holes.webp
600
1200
VastOrtho
https://www.vastortho.com/wp-content/uploads/Vast-Ortho-Logo-for-website.png
VastOrtho2017-12-18 05:53:572023-06-14 00:15:482.7 mm Locking Dorsal Distal Radius L Plate 3 Head Holes
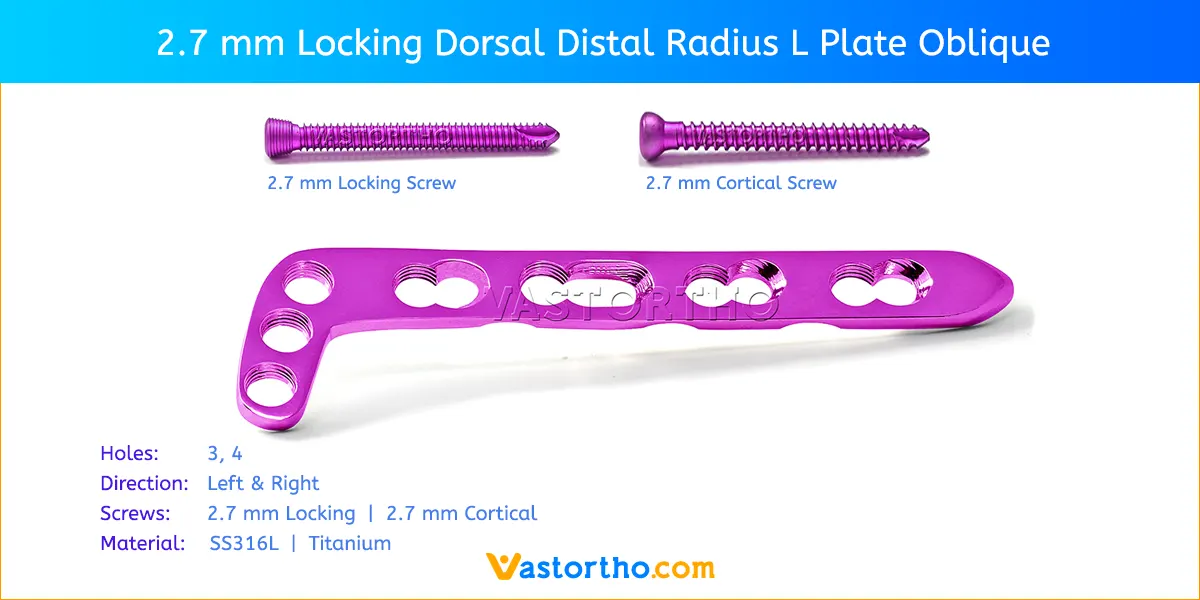 https://www.vastortho.com/wp-content/uploads/2.7-mm-Locking-Dorsal-Distal-Radius-L-Plate-Oblique.webp
600
1200
VastOrtho
https://www.vastortho.com/wp-content/uploads/Vast-Ortho-Logo-for-website.png
VastOrtho2017-12-18 05:53:462023-07-18 21:08:152.7 mm Locking Dorsal Distal Radius Oblique L Plate
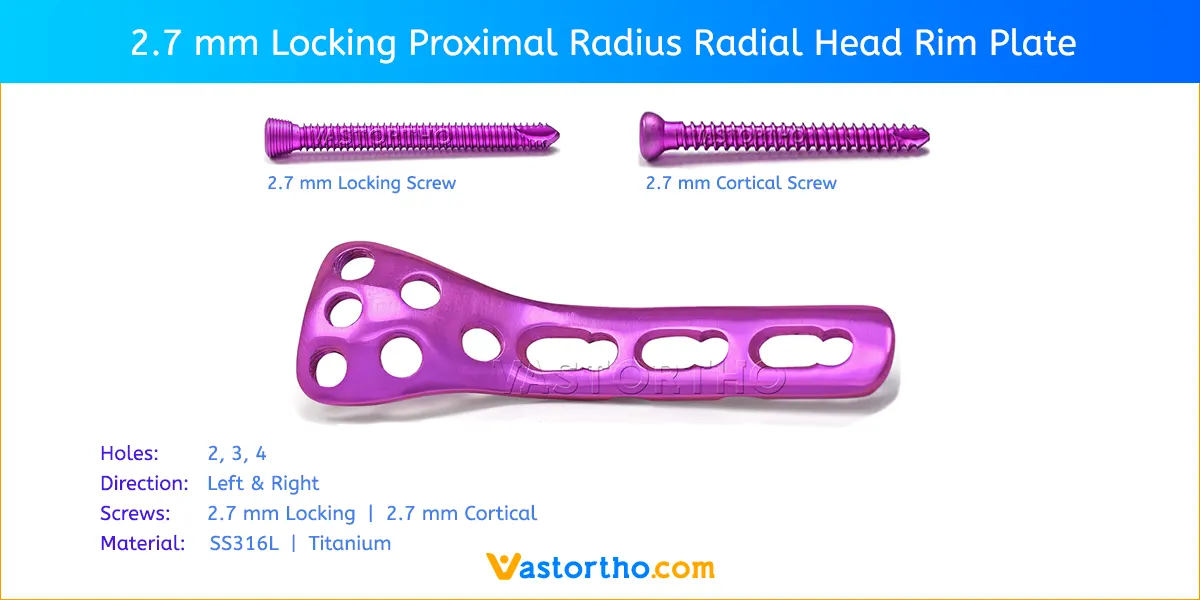 https://www.vastortho.com/wp-content/uploads/2.7-mm-Locking-Proximal-Radius-Rim-Plate.webp
600
1200
VastOrtho
https://www.vastortho.com/wp-content/uploads/Vast-Ortho-Logo-for-website.png
VastOrtho2017-12-18 05:52:562023-06-14 00:20:382.7 mm Locking Proximal Radius Rim Plate
 https://www.vastortho.com/wp-content/uploads/2.7-mm-Locking-Proximal-Radius-Neck-Plate.webp
600
1200
VastOrtho
https://www.vastortho.com/wp-content/uploads/Vast-Ortho-Logo-for-website.png
VastOrtho2017-12-18 05:52:472023-06-14 00:21:202.7 mm Locking Proximal Radius Neck Plate
