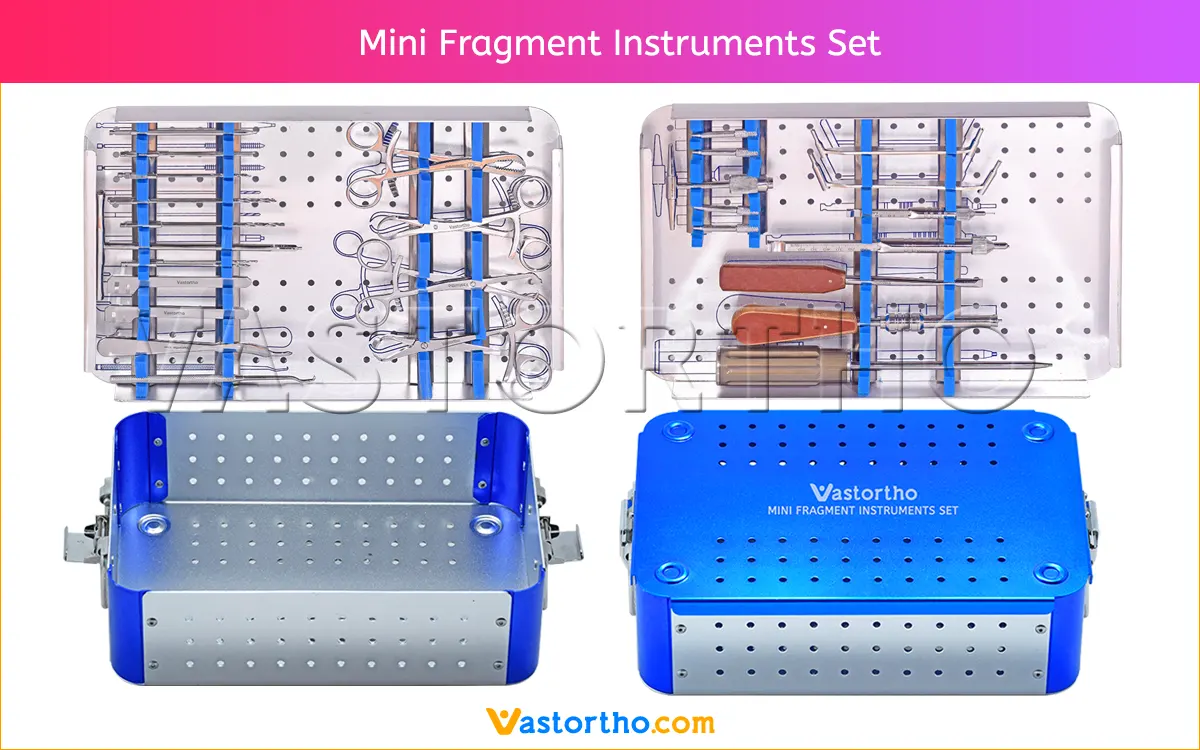
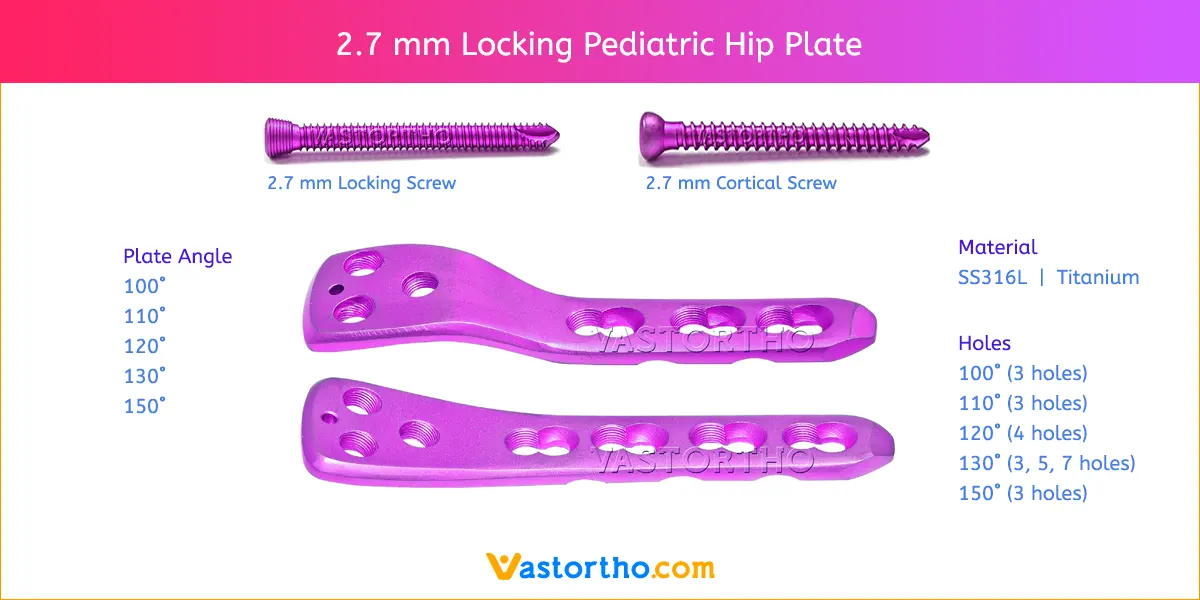
Select implant
Select the plates according to the fracture pattern and anatomy of the bone.
Reduce fracture
Reduce the fracture under image intensification and, if necessary, fix with Kirschner wires or reduction forceps. The reduction method is fracture-specific.
Trim 2.7 mm Locking Compression Plate
Trim the plate to the desired length using bending/cutting pliers. Remove the burrs.
Contour plate
If necessary, contour the plate to suit the anatomical conditions. Use bending pins for LCP Plates and thread the pins into the screw holes to contour the plate. The plate can also be bent using two flat nosed pliers.
If possible, bend the plate between the locking/LCP holes. Do not deform the threaded part of the holes or overbend the plate as this may adversely affect insertion of locking screws. Avoid repetitive bending of the plate. Reverse bending or use of the incorrect instrumentation for bending may weaken the plate and lead to premature plate failure (e.g. breakage). Do not bend the plate beyond what is required to match the anatomy.
Position plate
Position the plate over the reduced fracture and, if necessary fix provisionally with Kirschner wires or reduction forceps. When using the holding forceps with swivel foot to hold the plate, remove the drill sleeves from the surrounding holes so that the holding forceps sit flush on the plate.
Determine screw type
Depending on the individual case, cortex and/or locking screws may be inserted. Determine where locking screws and where cortex screws will be used.
The final screw placement and the use of locking and cortex screws are determined by the fracture pattern. If a locking screw is inserted first, ensure that the 2.7 mm Locking Compression Plate is held securely to the bone to prevent the plate from spinning as the screw locks into the plate.
Screw Insertion Cortical Screws
Drill the screw hole using the drill bit and the corresponding drill guide / drill sleeve. Determine the screw length with the corresponding depth
gauge. Insert the self-tapping cortex screw using the corresponding screwdriver.
Screw Insertion Locking Screws
Drill screw hole through the LCP drill sleeve using the appropriately sized drill bit. Determine the screw length either with the corresponding depth gauge or with the LCP drill sleeve. When using the LCP drill sleeve check the length directly on the scale of the drill sleeve. Then remove the drill sleeve. Insert the self-tapping locking screw using the corresponding screwdriver shaft and the appropriate handle.
Implant Removal
To remove the plate, first unlock all screws then definitely remove them in a second step. If the screws are not unlocked before removal the plate may rotate while the last screw is being removed and cause soft tissue damage.


